October 30, 2022
3D rendering to me always seemed to be very complicated and difficult thing to make, that was, of course, before I made it myself . It's actually so simple that you could make it yourself. so here's a helpful guide to 3D rendering, and how to take it one step further.
Let's clarify what we're trying to do. We start with 3d cordinates, \( \begin{pmatrix} x & y & z \end{pmatrix} \), and we want to project them onto the screen in a way that still looks 3D. One way to start would be to just ignore the \(z\) ordinate, and put it straight onto the screen that way, in other words:
$$ \begin{bmatrix} x \\ y \\ z \end{bmatrix} \rightarrow \begin{bmatrix} x \\ y \end{bmatrix} $$
And while you can do this with a matrix multiplication, It's easier to think of it as just ignoring the depth (\(z\) ordinate). Doing so for a cube would look like this:
Well, that's not very 3D, but believe it or not, we're one step away from it, all we need is perspective. So, what's perspective? it just means that things look smaller the further away they get. And that means factoring in our \(z\) ordinate again.
So the next question remains, how do things get smaller? Everything just shrinks toward the center of your vision. and that makes it really easy for us, because all we need to do (assuming the origin is the center of the screen) is divide the cordinates by the distance to the camera.
$$ \begin{bmatrix} x \\ y \\ z \end{bmatrix} \rightarrow \frac{d}{d-z}\begin{bmatrix} x \\ y \end{bmatrix} $$
Here, \(d\) represents how far back the camera is in space, and we're just calculating the distance from the camera's depth, to the point's depth, and multiplying by \(d\) to cancel the resulting shrinking effect. This is what it looks like applied to the points on a cube:
Now that's much more 3D, and that is the entire rendering algorithm. But we're still missing one crucial part of 3D...
We can now render any points that we have in 3D onto our screen. but in order to see other angles, we need to rotate points before they're drawn. Doing this involves some linear algebra, so if you aren't already comfortable with linear transformations as matricies, I reccomend 3blue1brown's series on the topic. But if you just want the bare bones, below is the most relevant video from that series.
Given a set of cordinates in 3D, we can rotate them around an axis by rotating the corresponding basis vectors, and multiplying the cordinates with the resulting linear transformation matrix, like so (for rotation around the y axis):
$$ R_{y}(\theta) = \begin{bmatrix} cos(\theta) & 0 & sin(\theta) \\ 0 & 1 & 0 \\ -sin(\theta) & 0 & cos(\theta) \end{bmatrix} $$
If you don't want to figure out all of them yourself, all three rotation matricies can be found on Wikipedia.
This is the result of the rotation, of course you can combine multiple rotation matricies in sucession to rotatate points along multiple axes. Just remember that order matters.
So is that it? it only takes two equations to render and spin a 3D object? that's right. but if its that simple, what's stopping us from going further?
So what about four dimensions? Let's think about what we did to get down from three to two dimensions. First, we removed the last cordinate (representing depth) from the cordinate list, and used it to calculate how much shrinking needs to be done, based on how far away it is, then, because we had two dimensions left, we drew it onto our screen.
If we use the same process that we did for 3D points on 4D points, we are still left with 3D points. We would have projected 4D into 3D. So if we want to draw that 3D projection of the 4D points, we have to repeat the 3D rendering steps from there.
The same goes for higher dimensions, we project it down, removing the last cordinate, applying the perspective, over and over, until we are left with two cordinates again, and we can draw that point on the screen.
so what about rotation?
Rotation also generalizes to any number of dimensions, in fact, it follows a nice and easy pattern. Remember the rotation matrix from before? it had trig functions in each corner of the 3x3 matrix. the 3's are no coincidence, either the rotation matrix around the 4th axis is a 4x4 matrix with those same functions in the corners! actually, this is true in general. rotation around the \(n\)th axis looks like an \((n \times n\)) matrix with \(sin()\) and \(cos()\) in the corners, like so:
$$ R_n(\theta) = \begin{bmatrix} cos(\theta) & 0 & \dots & sin(\theta) \\ 0 & 1 & & \vdots \\ \vdots & & \ddots & \\ -sin(\theta) & \dots & & cos(\theta) \end{bmatrix} $$
Then you simply apply the rotations as you scale down, (or all up front if you padd them with zeroes) and you have a render of a higher dimensional shape.
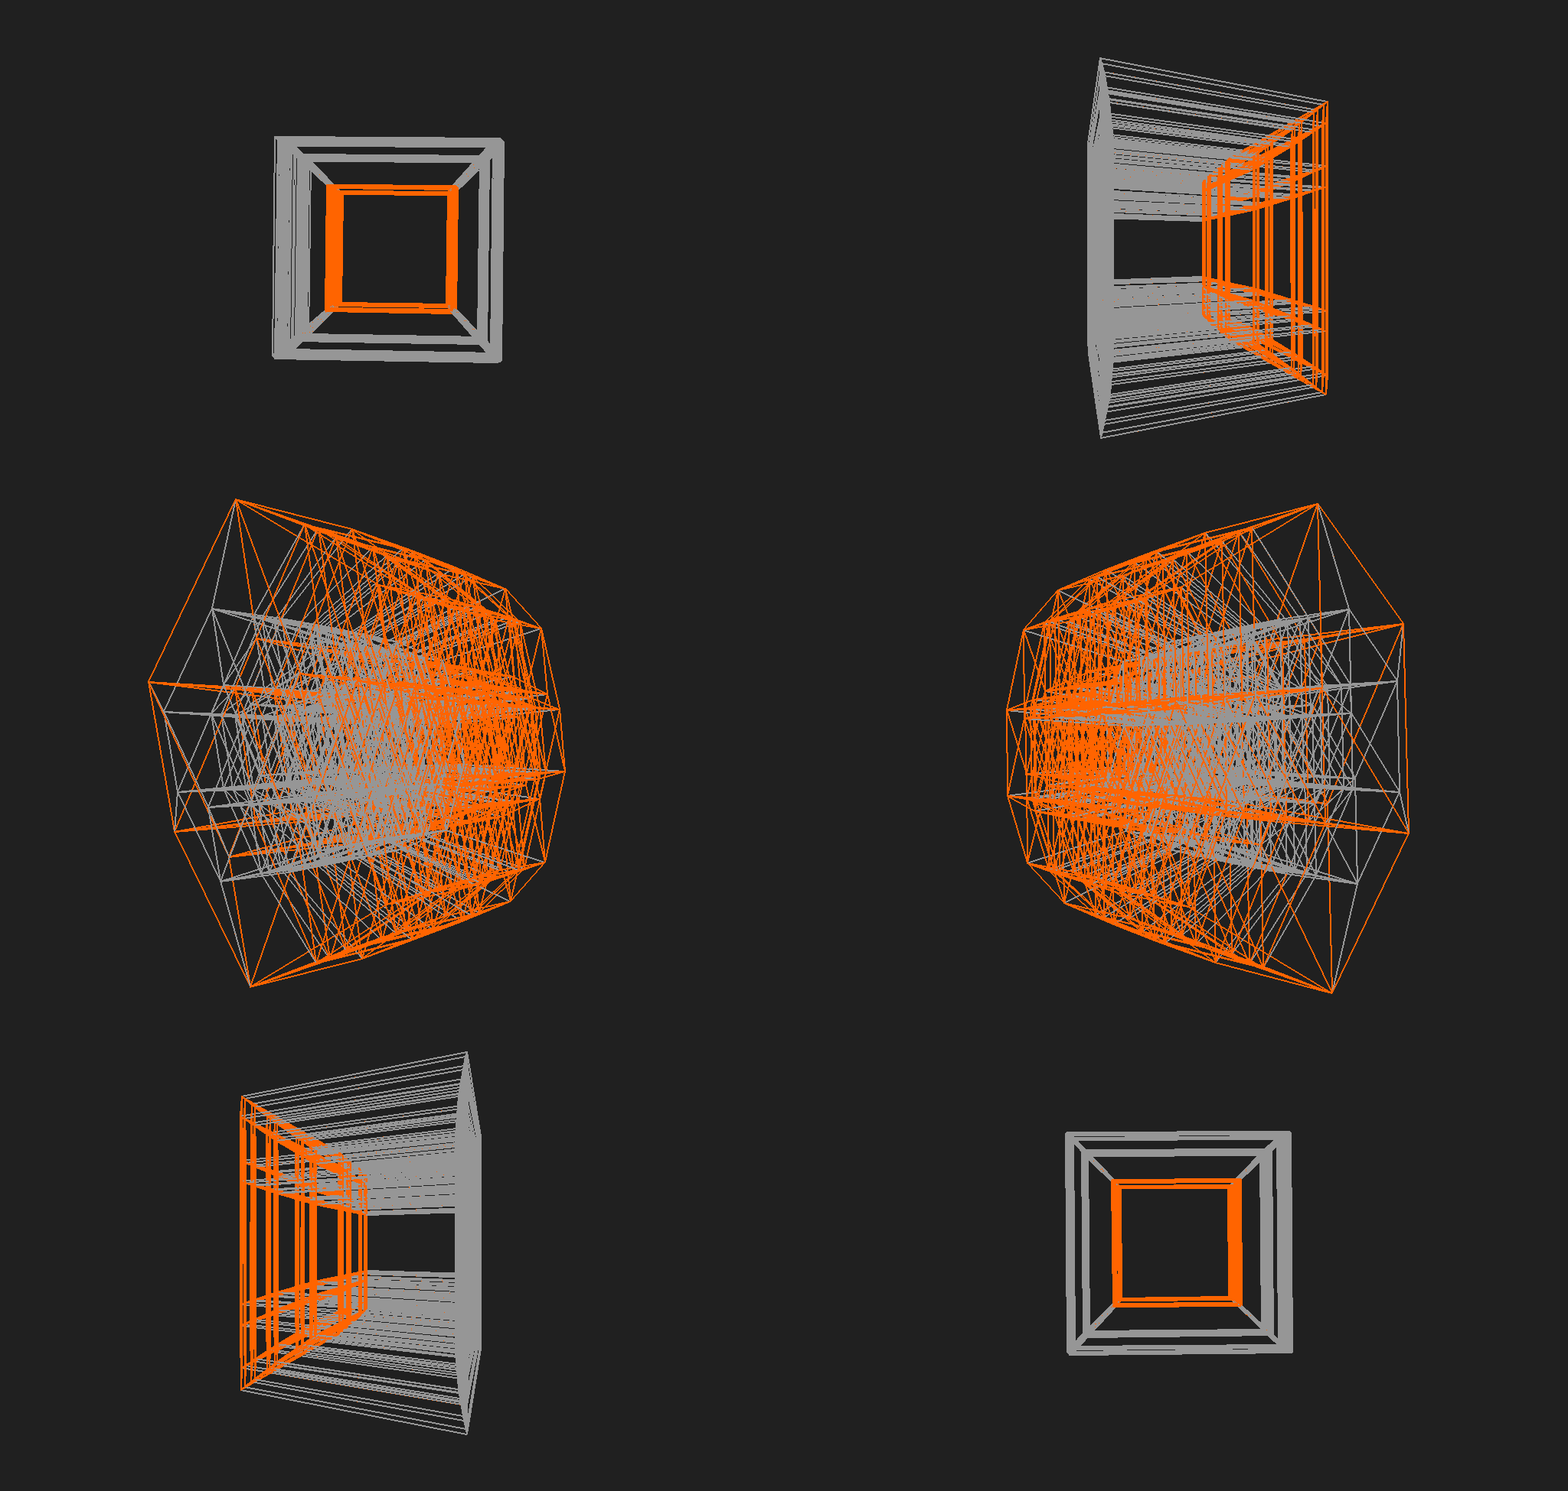
Below is a render of a nine dimensional Hypercube (with one face highlighted) rotating in all nine dimensions, that I made using this technique.

I hope this article gives you enough of an understanding to create this yourself, or if that's not your thing, you at least found it interesting.